

Publishing an App to Appstore
Publishing an app to the App Store involves several steps, from preparing your app to submitting it for review. Here’s a step-by-step guide to help you navigate the process:
1. Enroll in the Apple Developer Program
- Account Creation: To publish an app, you need to enroll in the Apple Developer Program, which costs $99 per year. This allows you to access development tools, submit apps, and more.
- Register: Sign up on the Apple Developer website. You can enroll as an individual or an organization.
2. Prepare Your App for Submission
- App Development: Ensure your app is fully developed, tested, and bug-free. It should meet Apple’s App Store Guidelines.
- App Store Assets: Prepare your app’s assets, including the app icon, screenshots, and a promotional video if needed. You’ll also need a compelling app description, keywords, and a privacy policy.
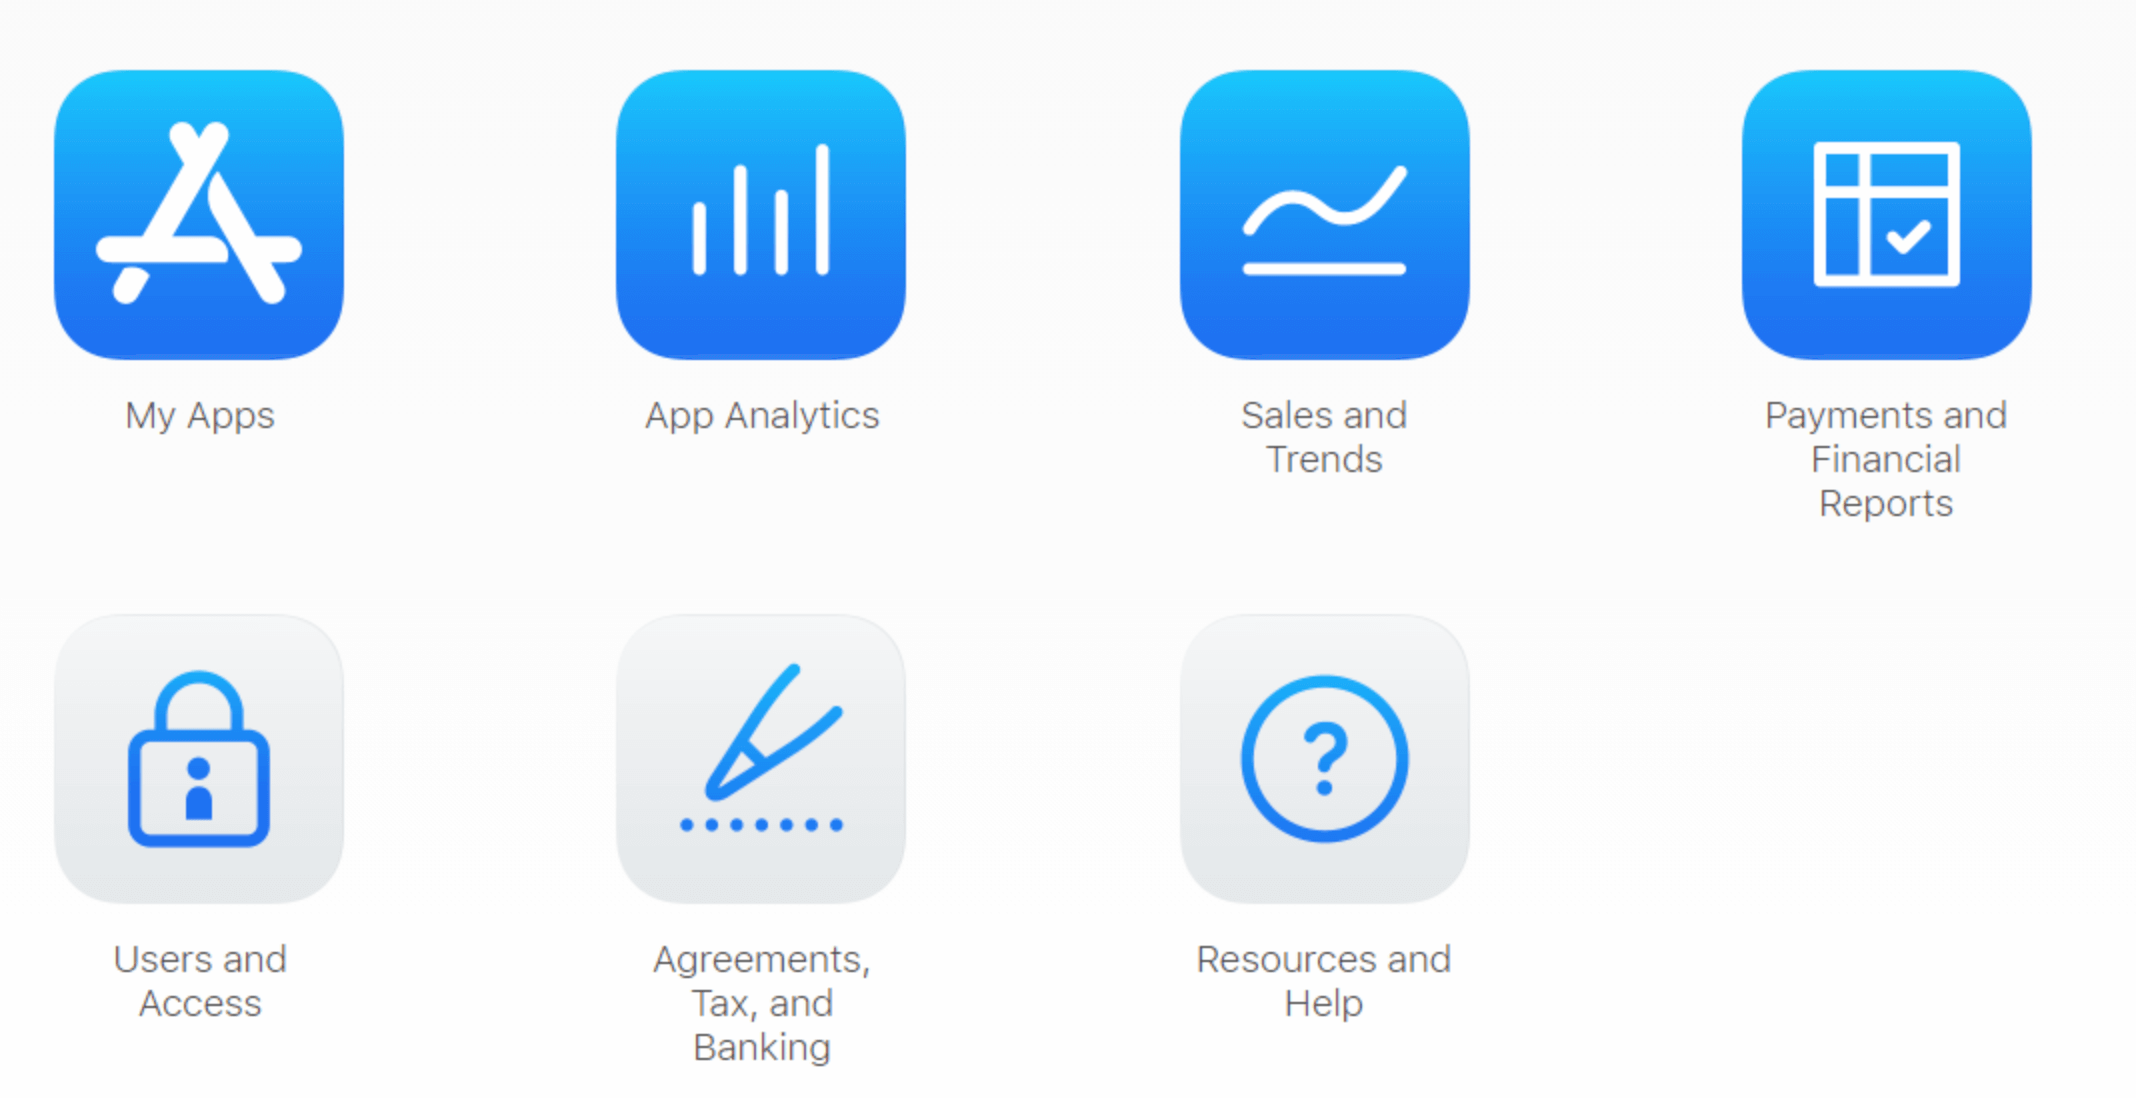
3. Create an App Store Listing in App Store Connect
- Sign In: Log in to App Store Connect using your Apple Developer account.
- Create a New App: In the App Store Connect dashboard, go to “My Apps” and click the “+” button to create a new app. Fill in details like app name, primary language, bundle ID, and SKU.
- Enter App Information: Provide required information, including app description, keywords, pricing, availability, and the contact information for your support team.
4. Upload Your App Using Xcode
- Archive Your App: In Xcode, select your app from the project navigator, choose a deployment target, and archive your app by going to “Product” > “Archive.”
- Validate Your App: After archiving, validate your app to ensure it meets Apple’s requirements by selecting “Validate App” in the Xcode Organizer.
- Upload Your App: Once validated, choose “Distribute App” in the Organizer, and select the App Store option to upload your app.
5. Submit Your App for Review
- Submit for Review: After uploading, go back to App Store Connect, where you’ll see your uploaded build. Attach it to your app listing by selecting the build, then click “Submit for Review.”
- Fill Out App Review Information: Provide information on the app’s content, age rating, and any specific guidelines Apple should consider. If your app uses specific features like health data, ads, or third-party integrations, declare them here.
- Submit for Review: Confirm that your app is ready for submission and click “Submit for Review.”
6. App Review Process
- App Review: Apple will review your app to ensure it complies with their guidelines. This process typically takes a few days but can vary.
- Respond to Feedback: If Apple requests changes or provides feedback, make the necessary adjustments in Xcode, re-upload the app, and resubmit it.
7. App Approval and Release
- App Approval: Once approved, you’ll receive a notification from Apple. You can choose to release the app immediately, or schedule it for a specific date.
- Monitor Performance: After release, monitor your app’s performance using App Store Connect’s analytics tools. This helps you track downloads, user engagement, and revenue.
8. Post-Launch Considerations
- Updates and Maintenance: Regularly update your app to fix bugs, add features, and comply with new iOS versions. You’ll need to submit updates through the same process.
- Marketing and Promotion: Promote your app through various channels, such as social media, app review sites, and paid ads, to increase visibility and downloads.
Tips for Reducing App Load Time and Memory Usage
In today’s fast-paced digital world, users expect mobile apps to perform flawlessly, load quickly, and run efficiently. An app that…
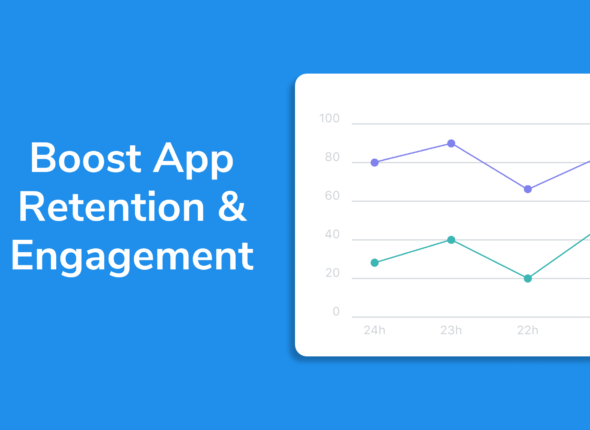
Strategies to Reduce App Abandonment and Increase Retention
In the highly competitive app marketplace, user retention is one of the most important metrics for measuring success. While acquiring…

Fintech App Development: Ensuring Compliance and Security
The rapid growth of fintech (financial technology) apps has revolutionized the financial services industry. From mobile banking and digital wallets…

The Future of Mobile Apps in the Travel and Tourism Industry
The travel and tourism industry has undergone a significant transformation in recent years, driven largely by advancements in technology. Mobile…

What Every Developer Should Know About Securing API Endpoints
APIs (Application Programming Interfaces) play a critical role in modern application development, enabling communication between client applications and backend services.…

Integrating Cloud Services into Your Mobile App
Cloud services have revolutionized the way modern mobile apps are developed, deployed, and maintained. Integrating cloud services into your mobile…